
Changing your vehicle’s brake pads is a crucial maintenance task that can save you money while ensuring your safety on the road.
While this may seem daunting at first, with the right tools and a step-by-step guide, replacing brake pads is a manageable task for most people. However, if you’re unsure or prefer professional assistance, visiting a trusted auto repair Houston can ensure the job is done correctly and safely.
This blog post will walk you through the entire process, from preparation to completion, with helpful tips along the way.
If you’re searching for ‘auto repair near me,’ we’re here to help — book your service today.
How Long Do Brake Pads Last?
Brake pads typically last between 30,000 to 70,000 miles, but this can vary depending on driving habits, road conditions, and brake pad material. If you want to understand the factors that impact brake pad longevity, check out our in-depth guide: How Long Do Brake Pads Last.
Signs That You Need to Replace Your Brake Pads
Here are some signs that tell you when you need to replace your brake pads:
- Squealing or screeching noises
- Reduced braking performance
- Dashboard warning light
- Visible wear
- Vibrations while braking
For a detailed breakdown of these warning signs and when to replace your brake pads, read our full guide: When to Change Brake Pads.
Tools and Materials You Will Need to Change the Brake Pads
- Jack and Jack stands
- Wheel lug wrench
- C-clamp or brake caliper tool
- Socket wrench set
- Screwdrivers (flathead and Phillips)
- New brake pads
- Anti-squeal lubricant
- Brake cleaner spray
- Gloves and safety goggles
- A drip pan or tray (to catch any debris or fluid)
Detailed Step-by-Step Guide to Changing Brake Pads
Changing brake pads requires attention to detail and patience. If you don’t have the right tools or are not a fan of DIY, you should always get professional car brake repair services to ensure the safety and performance of your vehicle.
Here, we will expand on each step to give you a deeper understanding of the process and ensure you’re fully equipped to handle the job.
Step 1: Prepare Your Workspace
- How to Do It:
- Choose a level surface like a garage floor or driveway.
- Gather all required tools (jack, lug wrench, sockets, C-clamp, etc.) and place them within easy reach.
- Lay down a drip pan under the brake assembly to catch debris or fluid.
- Wear gloves and goggles to protect against grease and debris.
Pro Tip: Use a headlamp for additional visibility in tight spaces.
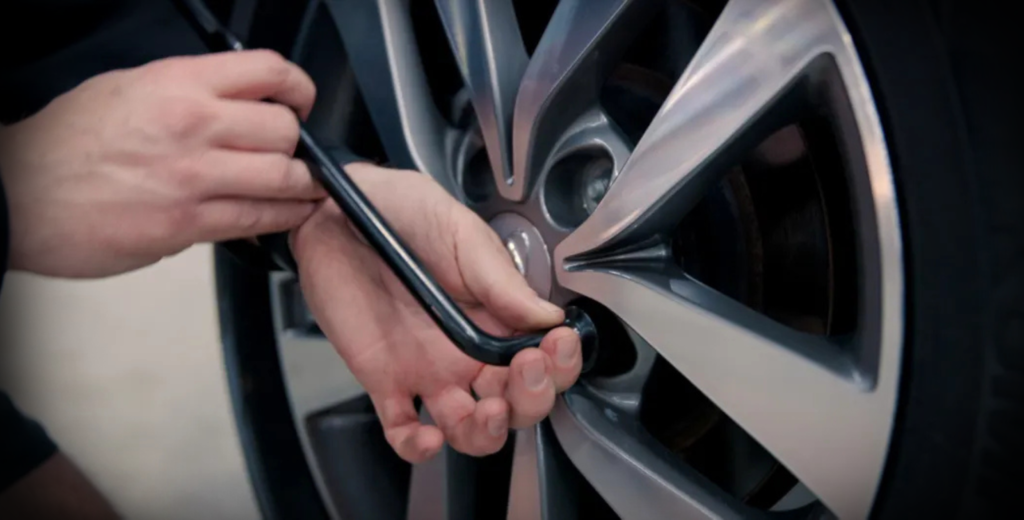
Step 2: Loosen the Lug Nuts
- How to Do It:
- Place the lug wrench on one of the nuts.
- Turn counterclockwise to loosen (don’t remove completely).
- Loosen all lug nuts slightly in a star pattern (opposite bolts) to avoid wheel tension issues.
Pro Tip: Use a breaker bar or pipe extension for extra leverage if the nuts are tight.
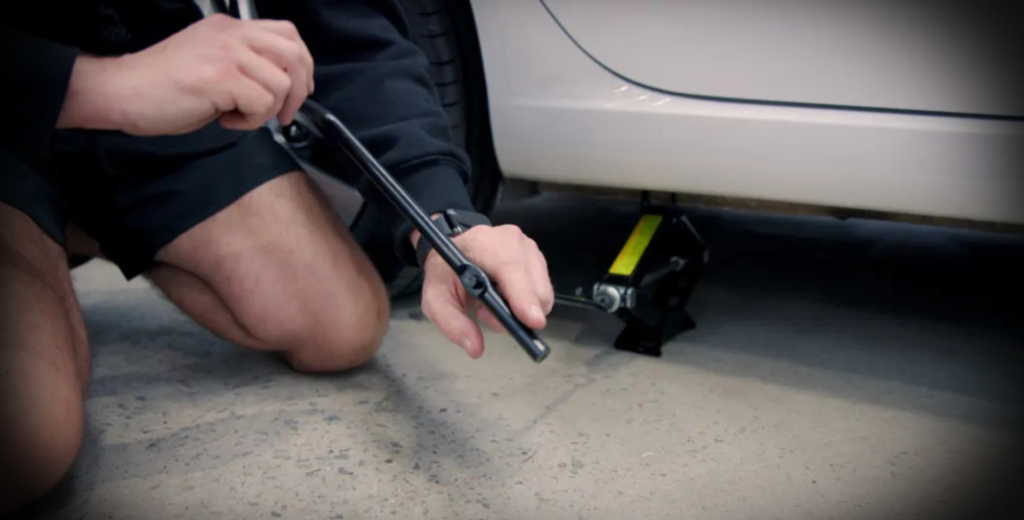
Step 3: Lift the Vehicle
- How to Do It:
- Position the jack under the recommended lifting point for your car (consult the manual).
- Raise the car until the wheel is off the ground.
- The jack stands under the car for stability and lowers the vehicle gently onto the stands.
Pro Tip: Shake the car slightly to ensure it’s stable before working underneath.
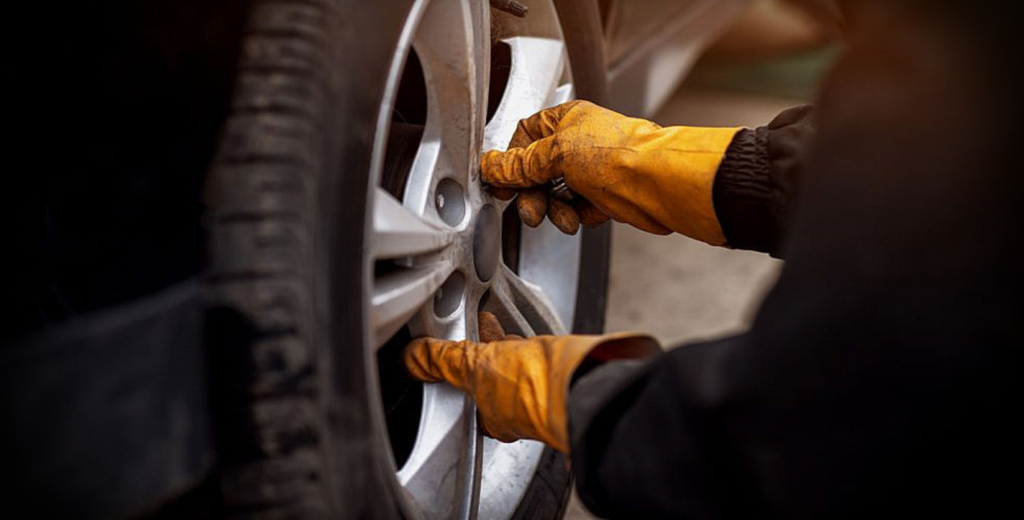
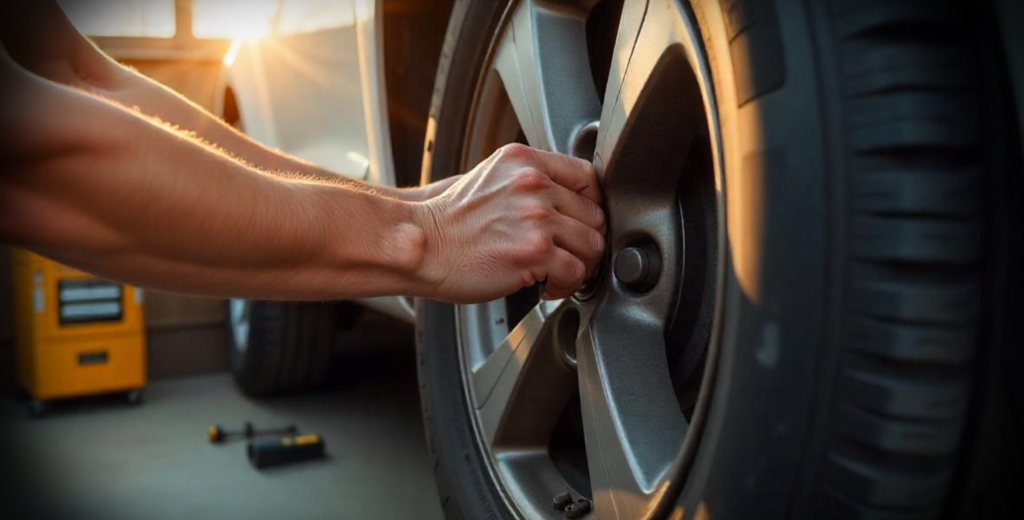
Step 4: Remove the Wheel
- How to Do It:
- Unscrew and remove the loosened lug nuts completely.
- Pull the wheel straight off the hub and set it aside.
- Check the hub area for rust or debris and clean it if necessary.
Pro Tip: Keep lug nuts in a container or magnetic tray to avoid losing them.
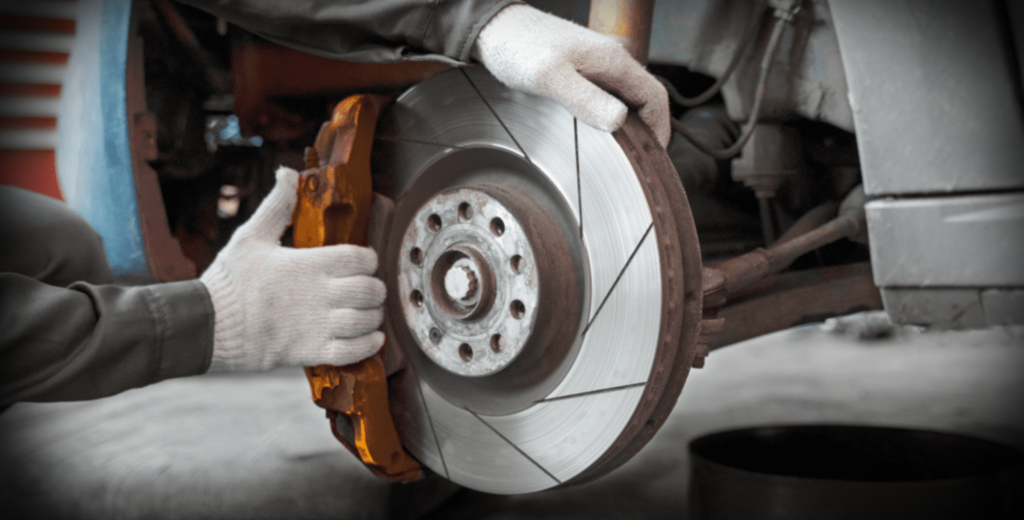
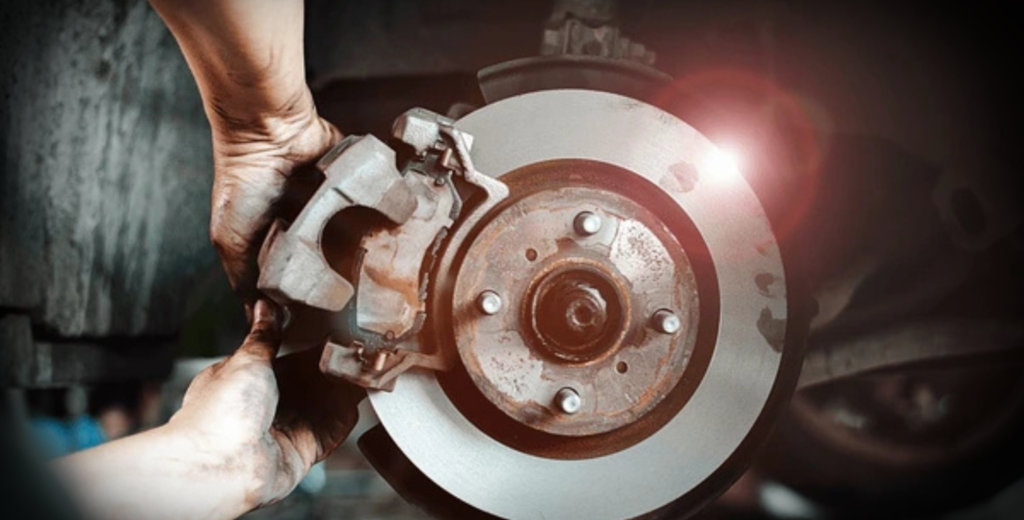
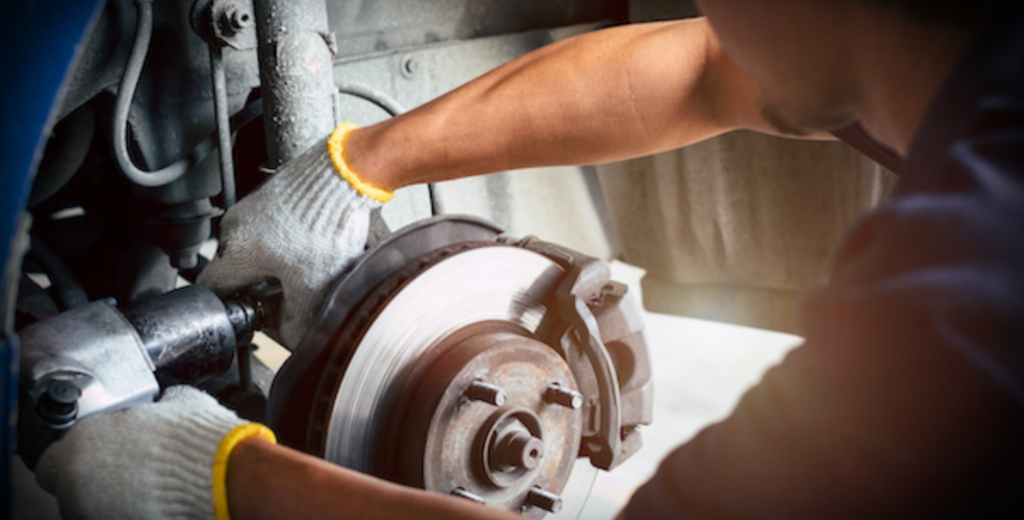
Step 5: Inspect the Brake Assembly
- How to Do It:
- Identify the main components: caliper, rotor, and pads.
- Check the rotor for deep grooves or uneven surfaces that may need resurfacing.
- Look at the caliper for leaks or damage.
- Confirm the thickness of the brake pads—less than 1/4 inch means replacement is needed.
Pro Tip: Take a picture of the assembly for reference during reassembly.
Step 6: Remove the Caliper
- How to Do It:
- Locate the two bolts at the back of the caliper and unscrew them with a socket wrench.
- Slide the caliper off the rotor carefully.
- Use a bungee cord or hanger to suspend the caliper from the suspension arm or frame, keeping the brake hose stress-free.
Pro Tip: Avoid pressing the brake pedal while the caliper is removed—it can dislodge the piston.
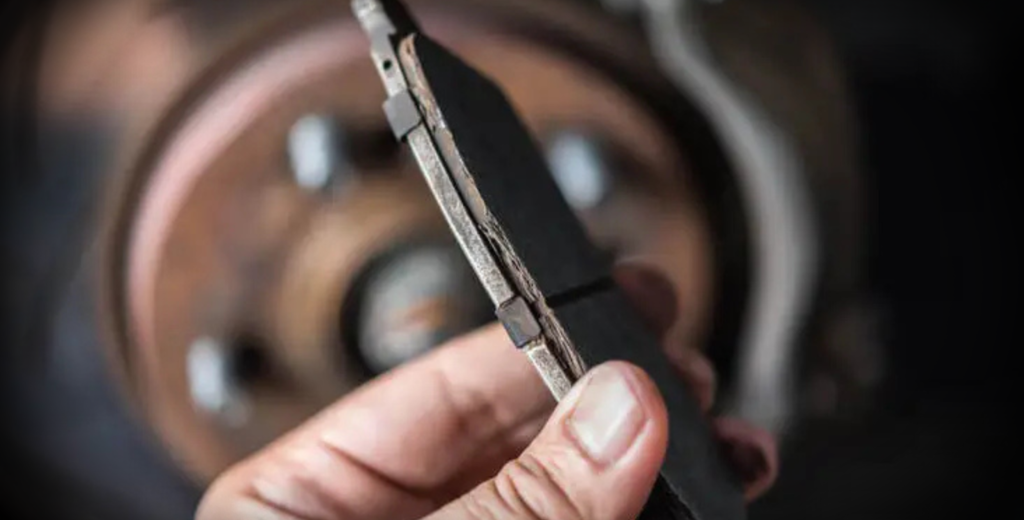
Step 7: Remove the Old Brake Pads
- How to Do It:
- Slide the pads out of their brackets or caliper slots. They may be secured with clips or pins—use a flathead screwdriver to gently pry them loose.
- Examine the clips for wear or damage; replace them if necessary.
- Clean the caliper bracket area with brake cleaner to remove dust and debris.
Pro Tip: Check for uneven pad wear, which could indicate a stuck caliper or misalignment.
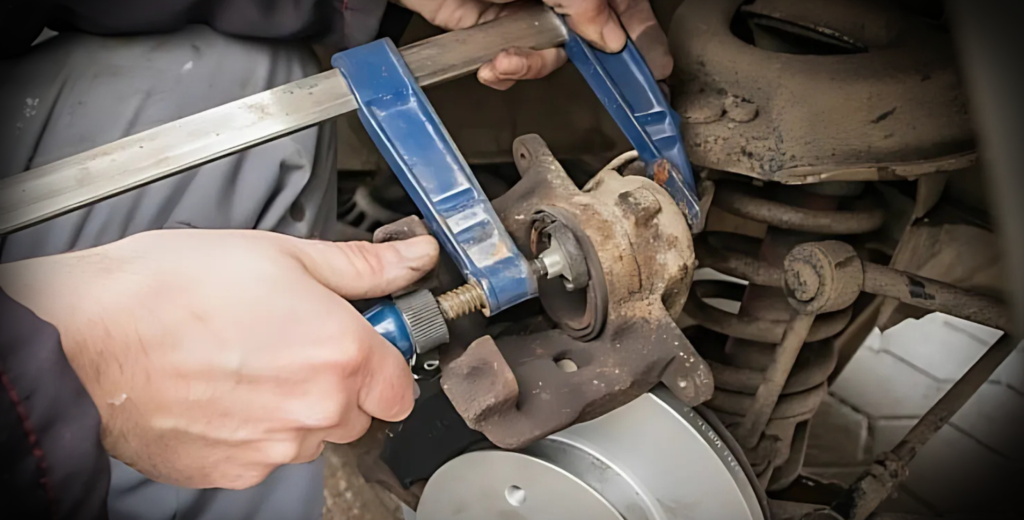
Step 8: Compress the Caliper Piston
- How to Do It:
- Place an old brake pad against the piston to evenly distribute pressure.
- Position a C-clamp over the caliper and the old pad, with the clamp’s screw end on the pad.
- Slowly tighten the clamp to push the piston back into its housing. Go slow to avoid damaging the piston.
Pro Tip: Keep an eye on the brake fluid reservoir as the piston compresses; fluid may need to be removed if it overflows.
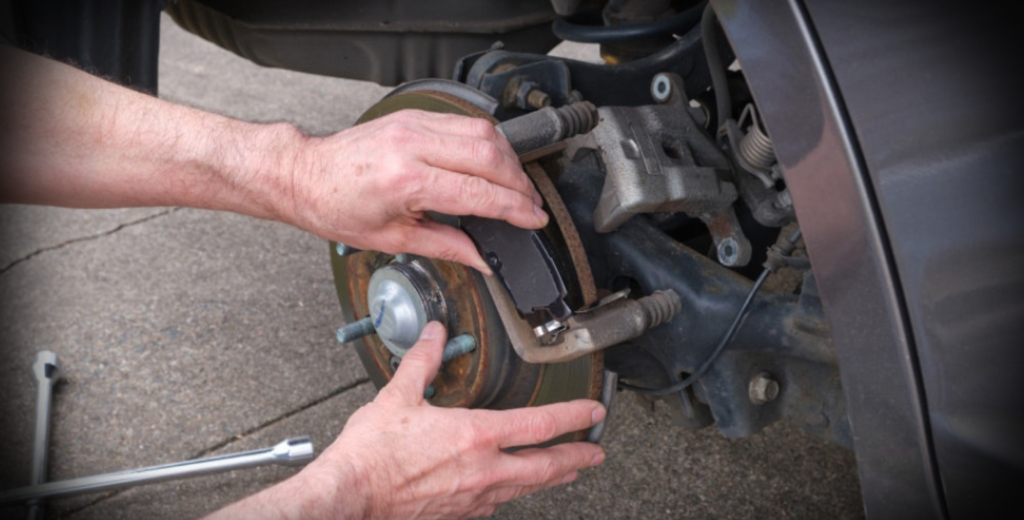
Step 9: Install the New Brake Pads
- How to Do It:
- Apply a thin layer of anti-squeal lubricant to the back of each pad (not the friction surface).
- Align the pads with the caliper bracket or slots, ensuring the friction side faces the rotor.
- Secure the pads with new clips or retainers if needed.
Pro Tip: Compare the new pads to the old ones to ensure the correct size and fit.
Step 10: Reattach the Caliper
- How to Do It:
- Carefully slide the caliper over the new brake pads and rotor.
- Align the caliper holes with the bracket and insert the bolts.
- Tighten the bolts to the manufacturer’s torque specifications using a torque wrench.
Pro Tip: Apply a small amount of thread locker to the bolts for added security.
Step 11: Reinstall the Wheel
- How to Do It:
- Position the wheel back onto the hub, aligning the holes with the lug bolts.
- Hand-tighten the lug nuts in a star pattern.
- Lower the vehicle from the jack stands and use a lug wrench to fully tighten the nuts, again in a star pattern.
Pro Tip: Double-check the lug nut torque using a torque wrench for safety.
Step 12: Test the Brakes
- How to Do It:
- Pump the brake pedal several times before driving to reseat the caliper piston and pads.
- Perform a slow test drive in a safe, low-traffic area to check for proper braking performance.
- Listen for any unusual noises, such as squealing or grinding, which may indicate improper installation.
Pro Tip: Avoid hard braking during the first few miles to allow the new pads to bed into the rotor surface.
Additional Pro Tips
- Grease Moving Parts: Apply grease to the caliper guide pins to ensure smooth operation and prevent sticking.
- Inspect Brake Fluid: Check the fluid level and top it off if necessary, using the correct type specified for your vehicle.
- Work One Side at a Time: If you are new to this, complete one wheel fully before moving to the other. This provides a reference for reassembly if needed.
- Dispose of Old Pads Responsibly: Take the used brake pads to a recycling center or auto parts store for proper disposal.
Eric’s Car Care: Expert Brake Repair Services
If you find yourself in need of professional help, Eric’s Car Care offers expert brake repair services.
Our experienced mechanics ensure that every aspect of your brake system, from pads and rotors to calipers and fluid, is inspected and repaired with precision.
Whether it’s routine maintenance or addressing a more complex issue, you can trust Eric’s Car Care to get the job done right. Reach out to us for a comprehensive brake system evaluation and keep your car performing at its best.