
Your car’s brake system is one of the most critical components for safe driving, and brake pads play a pivotal role in ensuring your vehicle stops effectively. Over time, these pads wear down due to constant friction against the brake rotors, compromising their performance.
Regularly inspecting and replacing worn brake pads is essential for your safety. While some drivers prefer a DIY approach, visiting a professional auto repair Houston ensures the job is done correctly and efficiently.
Knowing how to check brake pads for wear and tear is a crucial skill that can help you avoid accidents, ensure the longevity of your car, and save money on costly repairs. If you notice significant wear or other brake-related issues, reaching out to professional car brake repair services is highly recommended.
If you’re searching for ‘auto repair near me,’ we’re here to help — book your service today.
This detailed guide will walk you through everything you need to know to inspect your brake pads, identify signs of wear, and take appropriate action.
Why Brake Pads Matter
Brake pads are a fundamental part of your car’s braking system, responsible for creating the friction necessary to slow or stop your vehicle. Worn-out pads can reduce braking efficiency, increase stopping distances, and lead to unsafe driving conditions. Neglecting them can also damage the rotors, resulting in more expensive repairs.
The thickness of your brake pads determines their effectiveness. Most manufacturers recommend replacing pads when the material is less than 3 millimeters thick. Checking your brake pads every 6 months or during routine car maintenance can prevent costly issues.
Tools and Equipment You’ll Need
Before you start inspecting your brake pads, gather the necessary tools to ensure the process is safe and efficient:
- Car Jack and Jack Stands: To lift and secure your vehicle.
- Lug Wrench: For loosening and removing the lug nuts on your wheels.
- Flashlight: To see inside the brake assembly clearly.
- Brake Pad Thickness Gauge (Optional): A tool to measure the exact thickness of the brake pads.
- Safety Gear: Gloves and safety goggles to protect your hands and eyes.
When to Replace Brake Pads: Signs That Indicate Replacement is Necessary
- Brake pad thickness less than 1/4 inch indicates replacement is needed.
- Squealing or screeching noises suggest the wear indicator is signaling pad replacement.
- Grinding noises mean the pads are completely worn, causing metal-on-metal contact with the rotor.
- Reduced braking performance or longer stopping distances point to worn brake pads.
- Vibrations or pulsations in the brake pedal may indicate uneven wear or rotor damage.
- Dashboard warning lights in modern vehicles often alert when pads need replacement.
Step-by-Step Guide to Checking Brake Pads
Knowing how to check your brake pads is an essential skill that can save you money and keep your car safe. Brake pads are a key component of your vehicle’s braking system, and ensuring they’re in good condition is vital for your safety. Here’s a detailed, step-by-step guide to help you inspect your brake pads like a pro.
1. Gather Your Tools
Before you begin, make sure you have all the necessary tools. Having everything ready will make the process smoother and more efficient. Here’s what you need:
- Jack and Jack Stands: To lift and safely secure your vehicle.
- Lug Wrench: To loosen and remove the lug nuts on your wheels.
- Flashlight: To provide clear visibility of the brake assembly.
- Safety Gloves and Goggles: To protect your hands and eyes during the inspection.
- Brake Pad Thickness Gauge (Optional): A tool to measure the exact thickness of the brake pads.
Gathering these tools in advance ensures you won’t have to pause midway through the process.
2. Safety First
Safety is paramount when working on your vehicle. Ensure the following steps are taken:
- Park on a Flat Surface: Find a stable, level location to park your car. This minimizes the risk of the vehicle shifting or rolling.
- Engage the Parking Brake: Set the parking brake to prevent movement while you’re working.
- Turn Off the Engine: Make sure the car is off and the keys are removed from the ignition.
Taking these precautions will reduce the chances of accidents during your inspection.
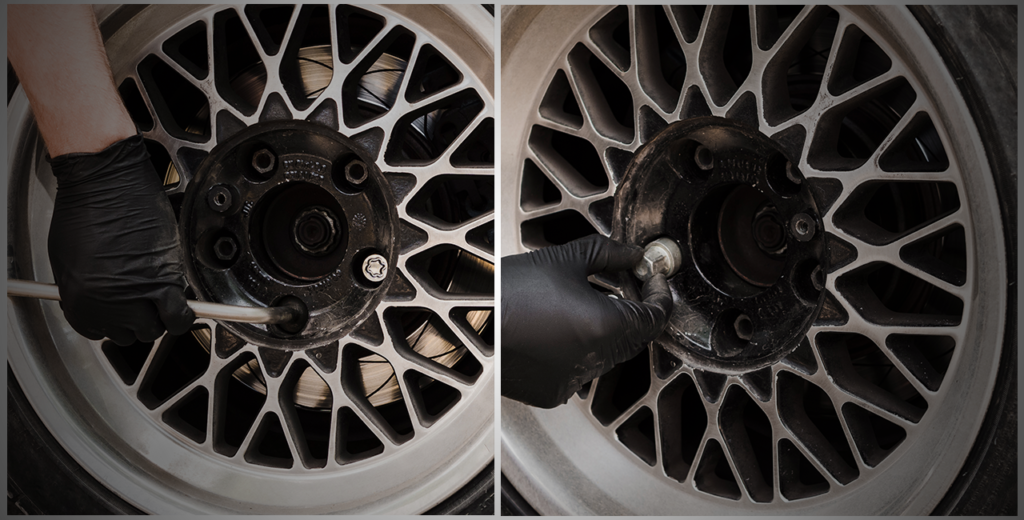
3. Remove the Wheel
Once you’ve ensured safety, it’s time to access the brake assembly by removing the wheel.
- Loosen the Lug Nuts: Use the lug wrench to slightly loosen the lug nuts while the car is still on the ground. This prevents the wheel from spinning when you lift the car.
- Lift the Vehicle: Place the jack under the vehicle’s designated jacking point (usually outlined in the owner’s manual) and raise the car until the wheel is off the ground.
- Secure with Jack Stands: Once the car is lifted, place jack stands under the vehicle for added stability. Never rely solely on the jack for support.
- Remove the Wheel: Fully unscrew the loosened lug nuts and set them aside in a safe place. Then, pull the wheel off to expose the brake assembly.
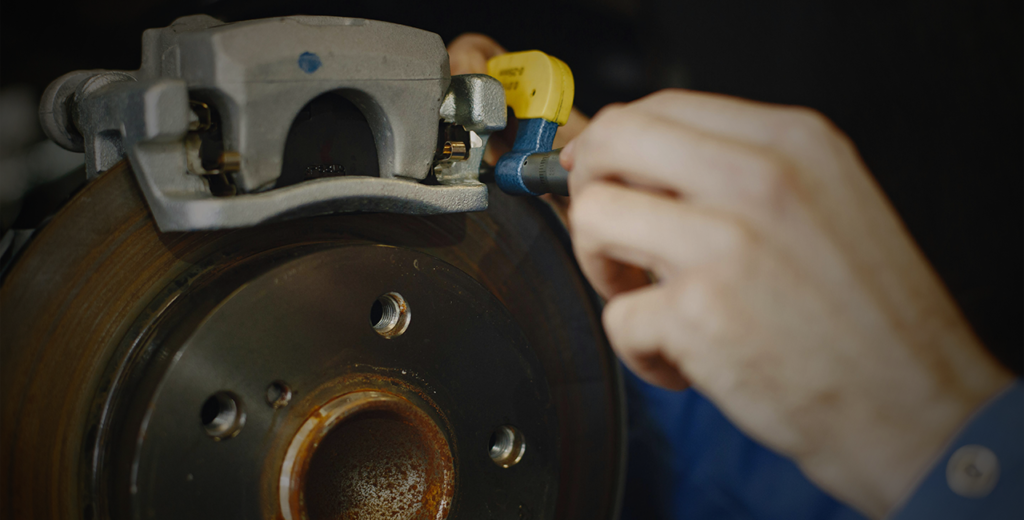
4. Inspect the Brake Pads
Now that the brake assembly is visible, you can closely examine the brake pads.
- Locate the Brake Pads: The brake pads are housed inside the brake caliper. They press against the rotor when you apply the brakes.
- Check the Thickness: Use your flashlight to inspect the pad material. Brake pads should be at least 1/4 inch (6.35 millimeters) thick. If they’re thinner, it’s time to replace them. A brake pad thickness gauge can give you a precise measurement.
- Look for Uneven Wear: Check both the inner and outer brake pads. Uneven wear may indicate a problem with the caliper or the braking system.
5. Check for Cracks or Damage
While inspecting the brake pads, look for additional signs of wear or damage.
- Cracks: Small cracks on the surface of the pads may indicate excessive heat or wear. If cracks are visible, replace the pads immediately.
- Glazing: Shiny or glassy-looking pads suggest they’ve been overheated, reducing their effectiveness.
- Metal Backing Plate: If the friction material is completely worn away, exposing the metal backing plate, the pads must be replaced immediately to avoid damaging the rotors.
These signs of wear and damage can compromise braking performance and should not be ignored.
6. Reassemble the Wheel
If the brake pads are in good condition, you can reassemble the wheel and prepare the car for use.
- Put the Wheel Back On: Align the wheel with the hub and slide it into place.
- Hand-Tighten Lug Nuts: Screw the lug nuts back onto the wheel by hand to hold it securely in place.
- Lower the Vehicle: Use the jack to carefully lower the car back to the ground.
- Tighten the Lug Nuts: Once the car is on the ground, use the lug wrench to securely tighten the lug nuts in a star pattern. This ensures even pressure and prevents the wheel from wobbling.
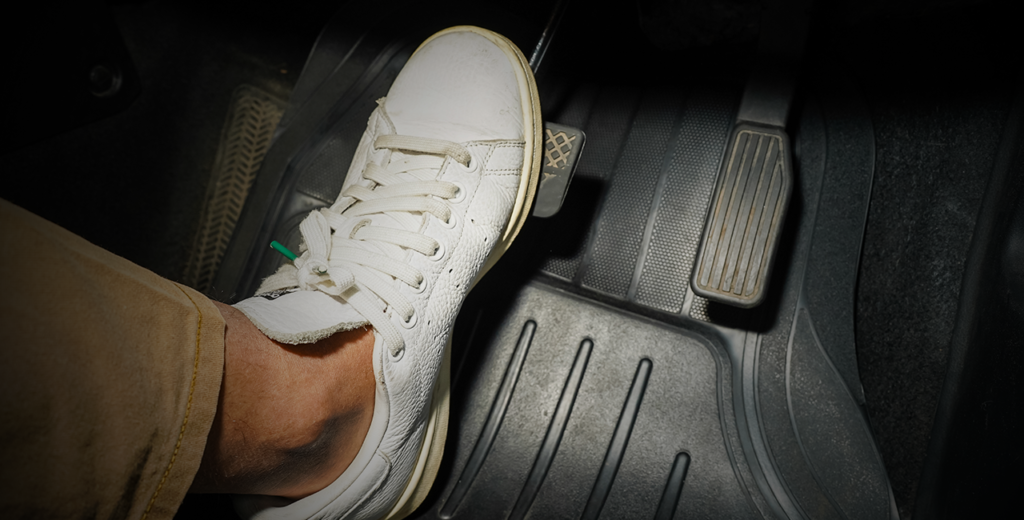
7. Test the Brakes
After reassembling the wheel, it’s important to test the brakes to ensure everything is functioning properly.
- Start the Car: Turn on the engine and gently press the brake pedal to confirm it feels firm and responsive.
- Listen for Unusual Sounds: Take the car for a slow test drive and listen for any squealing, grinding, or clicking noises that might indicate a problem.
- Evaluate Braking Performance: Pay attention to how the car responds when you apply the brakes. If the brakes feel unresponsive or you notice vibration in the pedal, additional inspection or repairs may be needed.
DIY vs. Professional Services
Inspecting your brake pads is a relatively simple process, but replacing them or addressing deeper issues can be complex. If you’re uncomfortable working with your brakes or notice additional problems, seek professional Car Brake Repair Services for a thorough inspection and repair. Professional mechanics have the expertise and tools to ensure your brakes are in optimal condition.
Tips to Extend Brake Pad Life
- Avoid Sudden Stops: Gradual braking reduces wear on brake pads. This simple change can significantly extend their lifespan.
- Keep Your Distance: Maintaining a safe distance from other vehicles allows for smoother braking. This practice minimizes abrupt stops and helps save your brake pads.
- Regular Inspections: Schedule routine checks for your braking system. Early detection of issues can prevent excessive wear on your brake pads.
- Choose Quality Pads: Invest in high-quality brake pads. Better materials often provide improved performance and durability compared to cheaper options.
Following these tips can help you get the most out of your brake pads, ensuring safer driving and cost savings.
Keep Your Car Running Smoothly with Eric’s Car Care!
Understanding how to check brake pads empowers you to maintain your vehicle’s safety and performance. Regular inspections can help you catch wear and tear early, ensuring a smooth and safe driving experience. While DIY checks are valuable, don’t hesitate to rely on expert Car Brake Repair Services for replacements or in-depth maintenance. Taking care of your brakes today means safer drives tomorrow!From brake repairs to complete vehicle maintenance, trust Eric’s Car Care for reliable, expert service. Call us today at 713-667-9293 or schedule your appointment online to experience the care your car deserves!